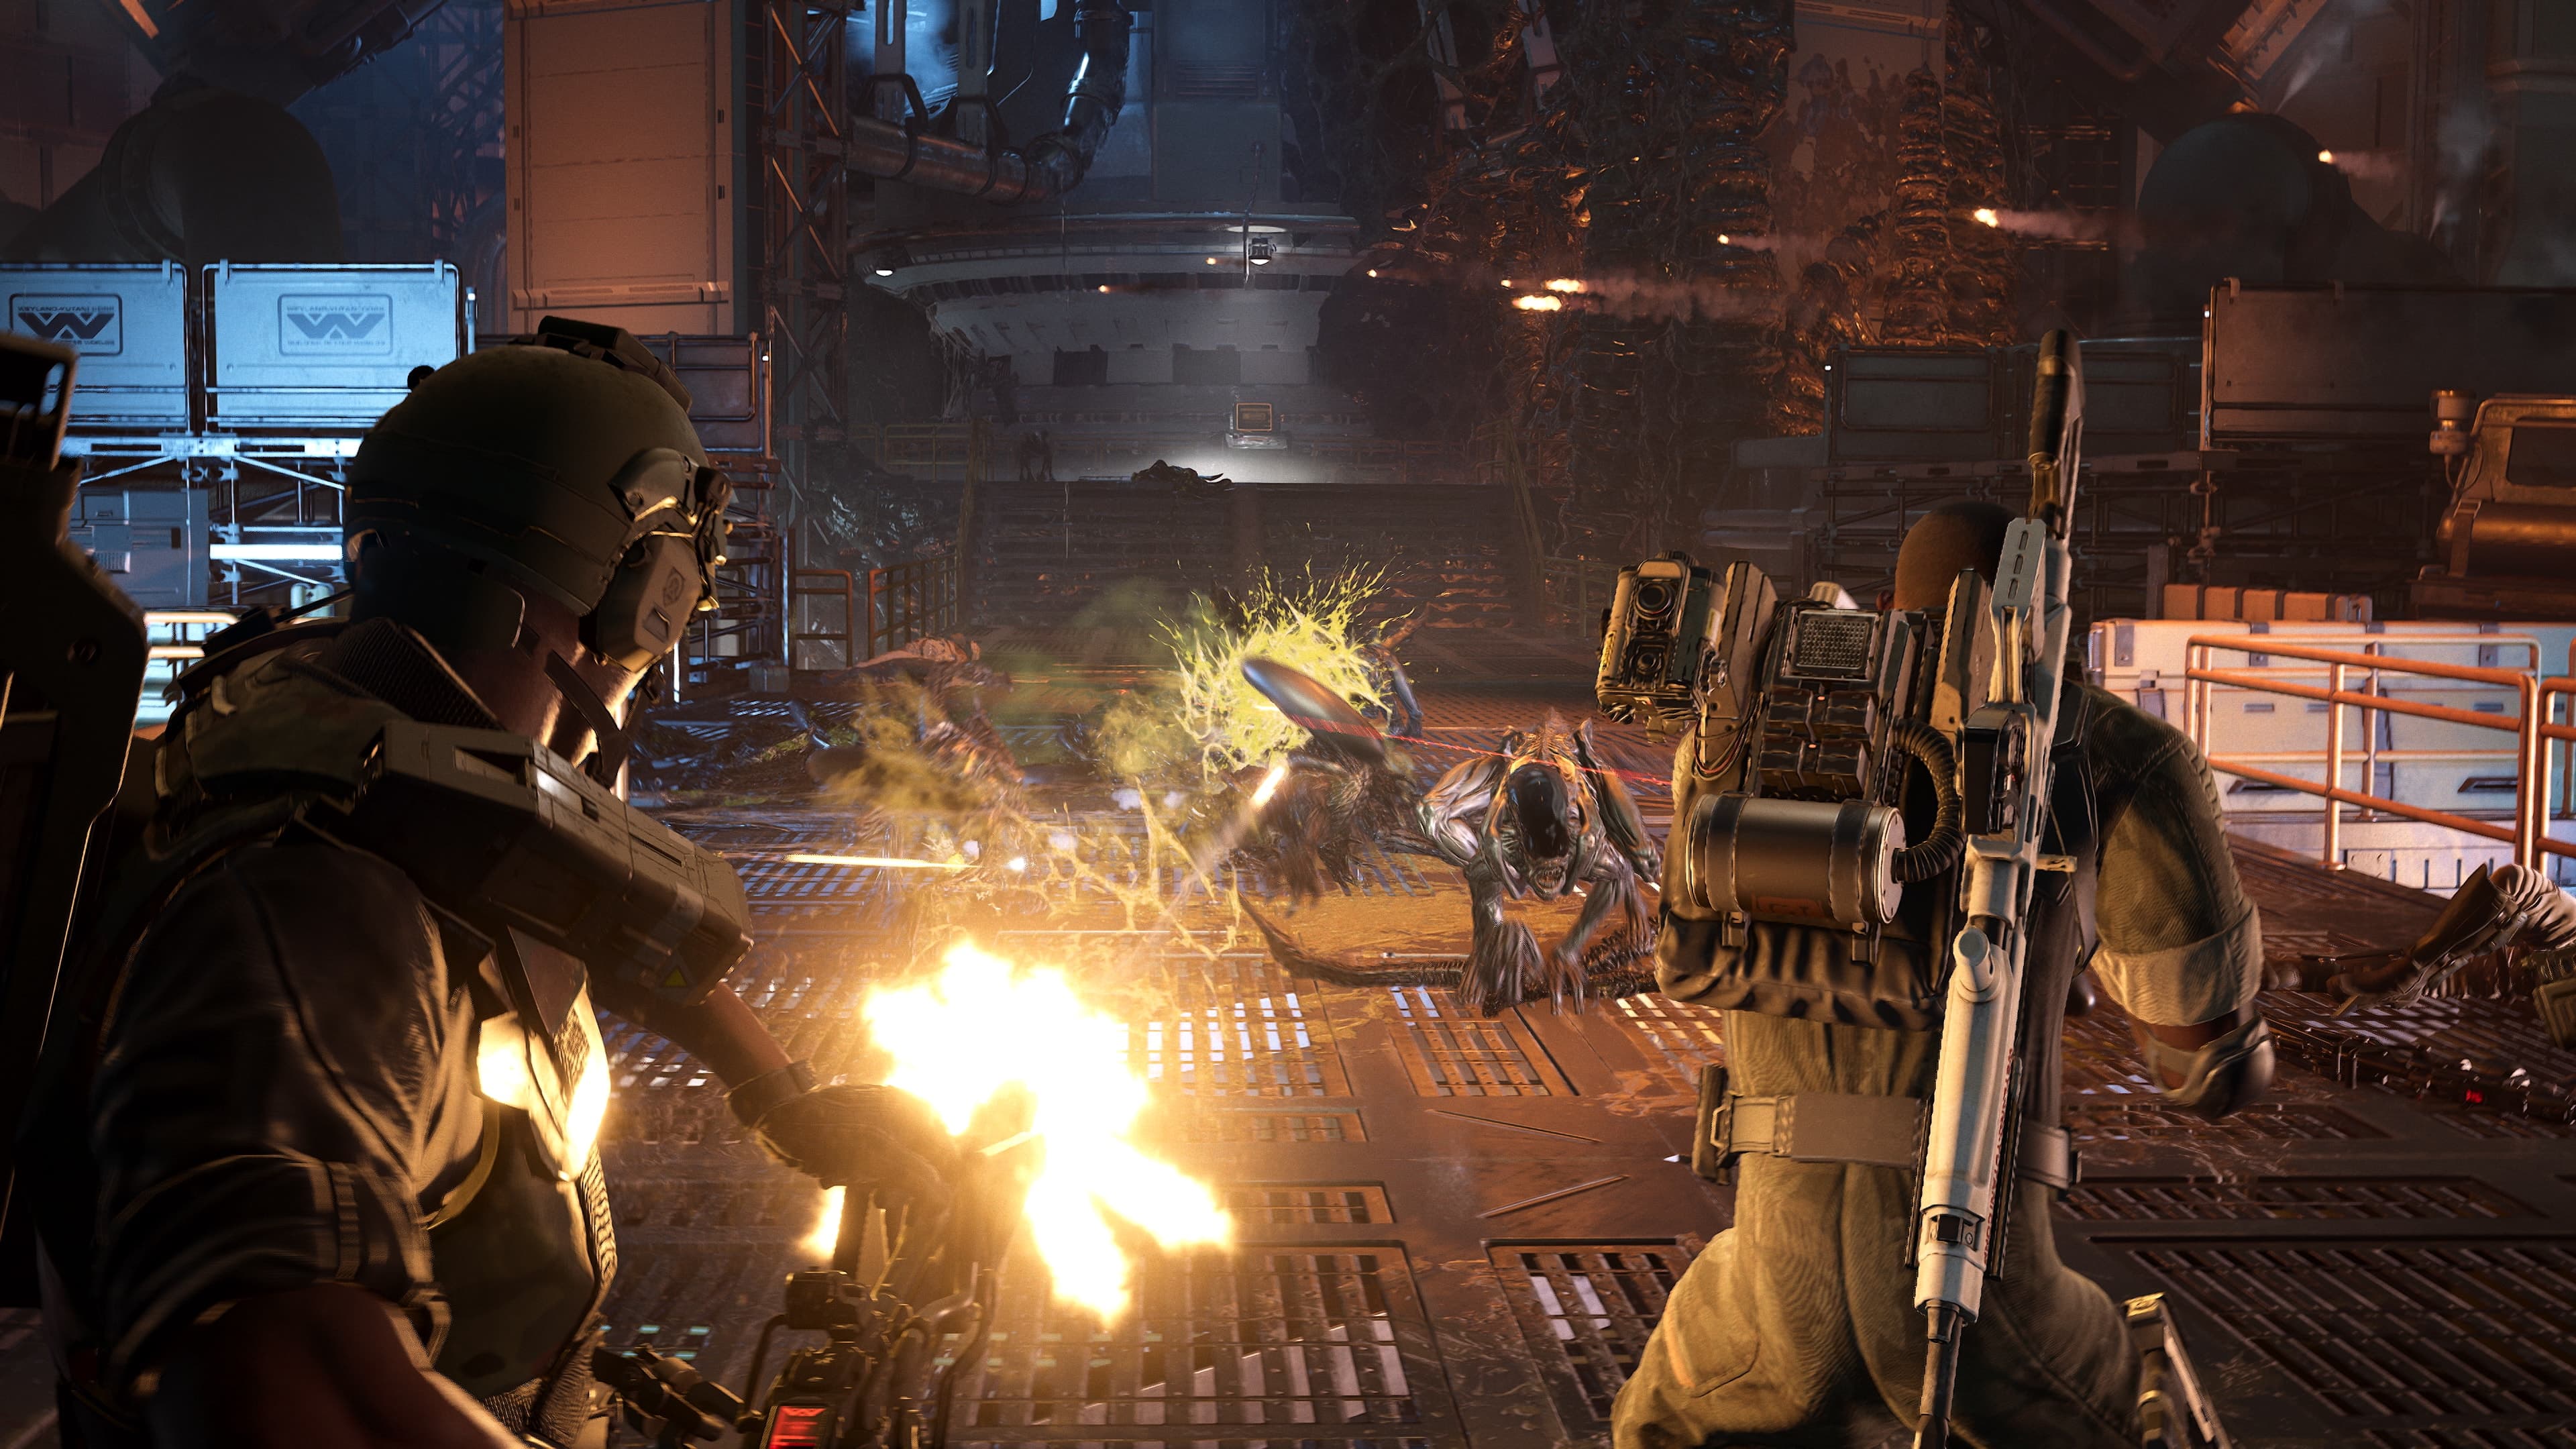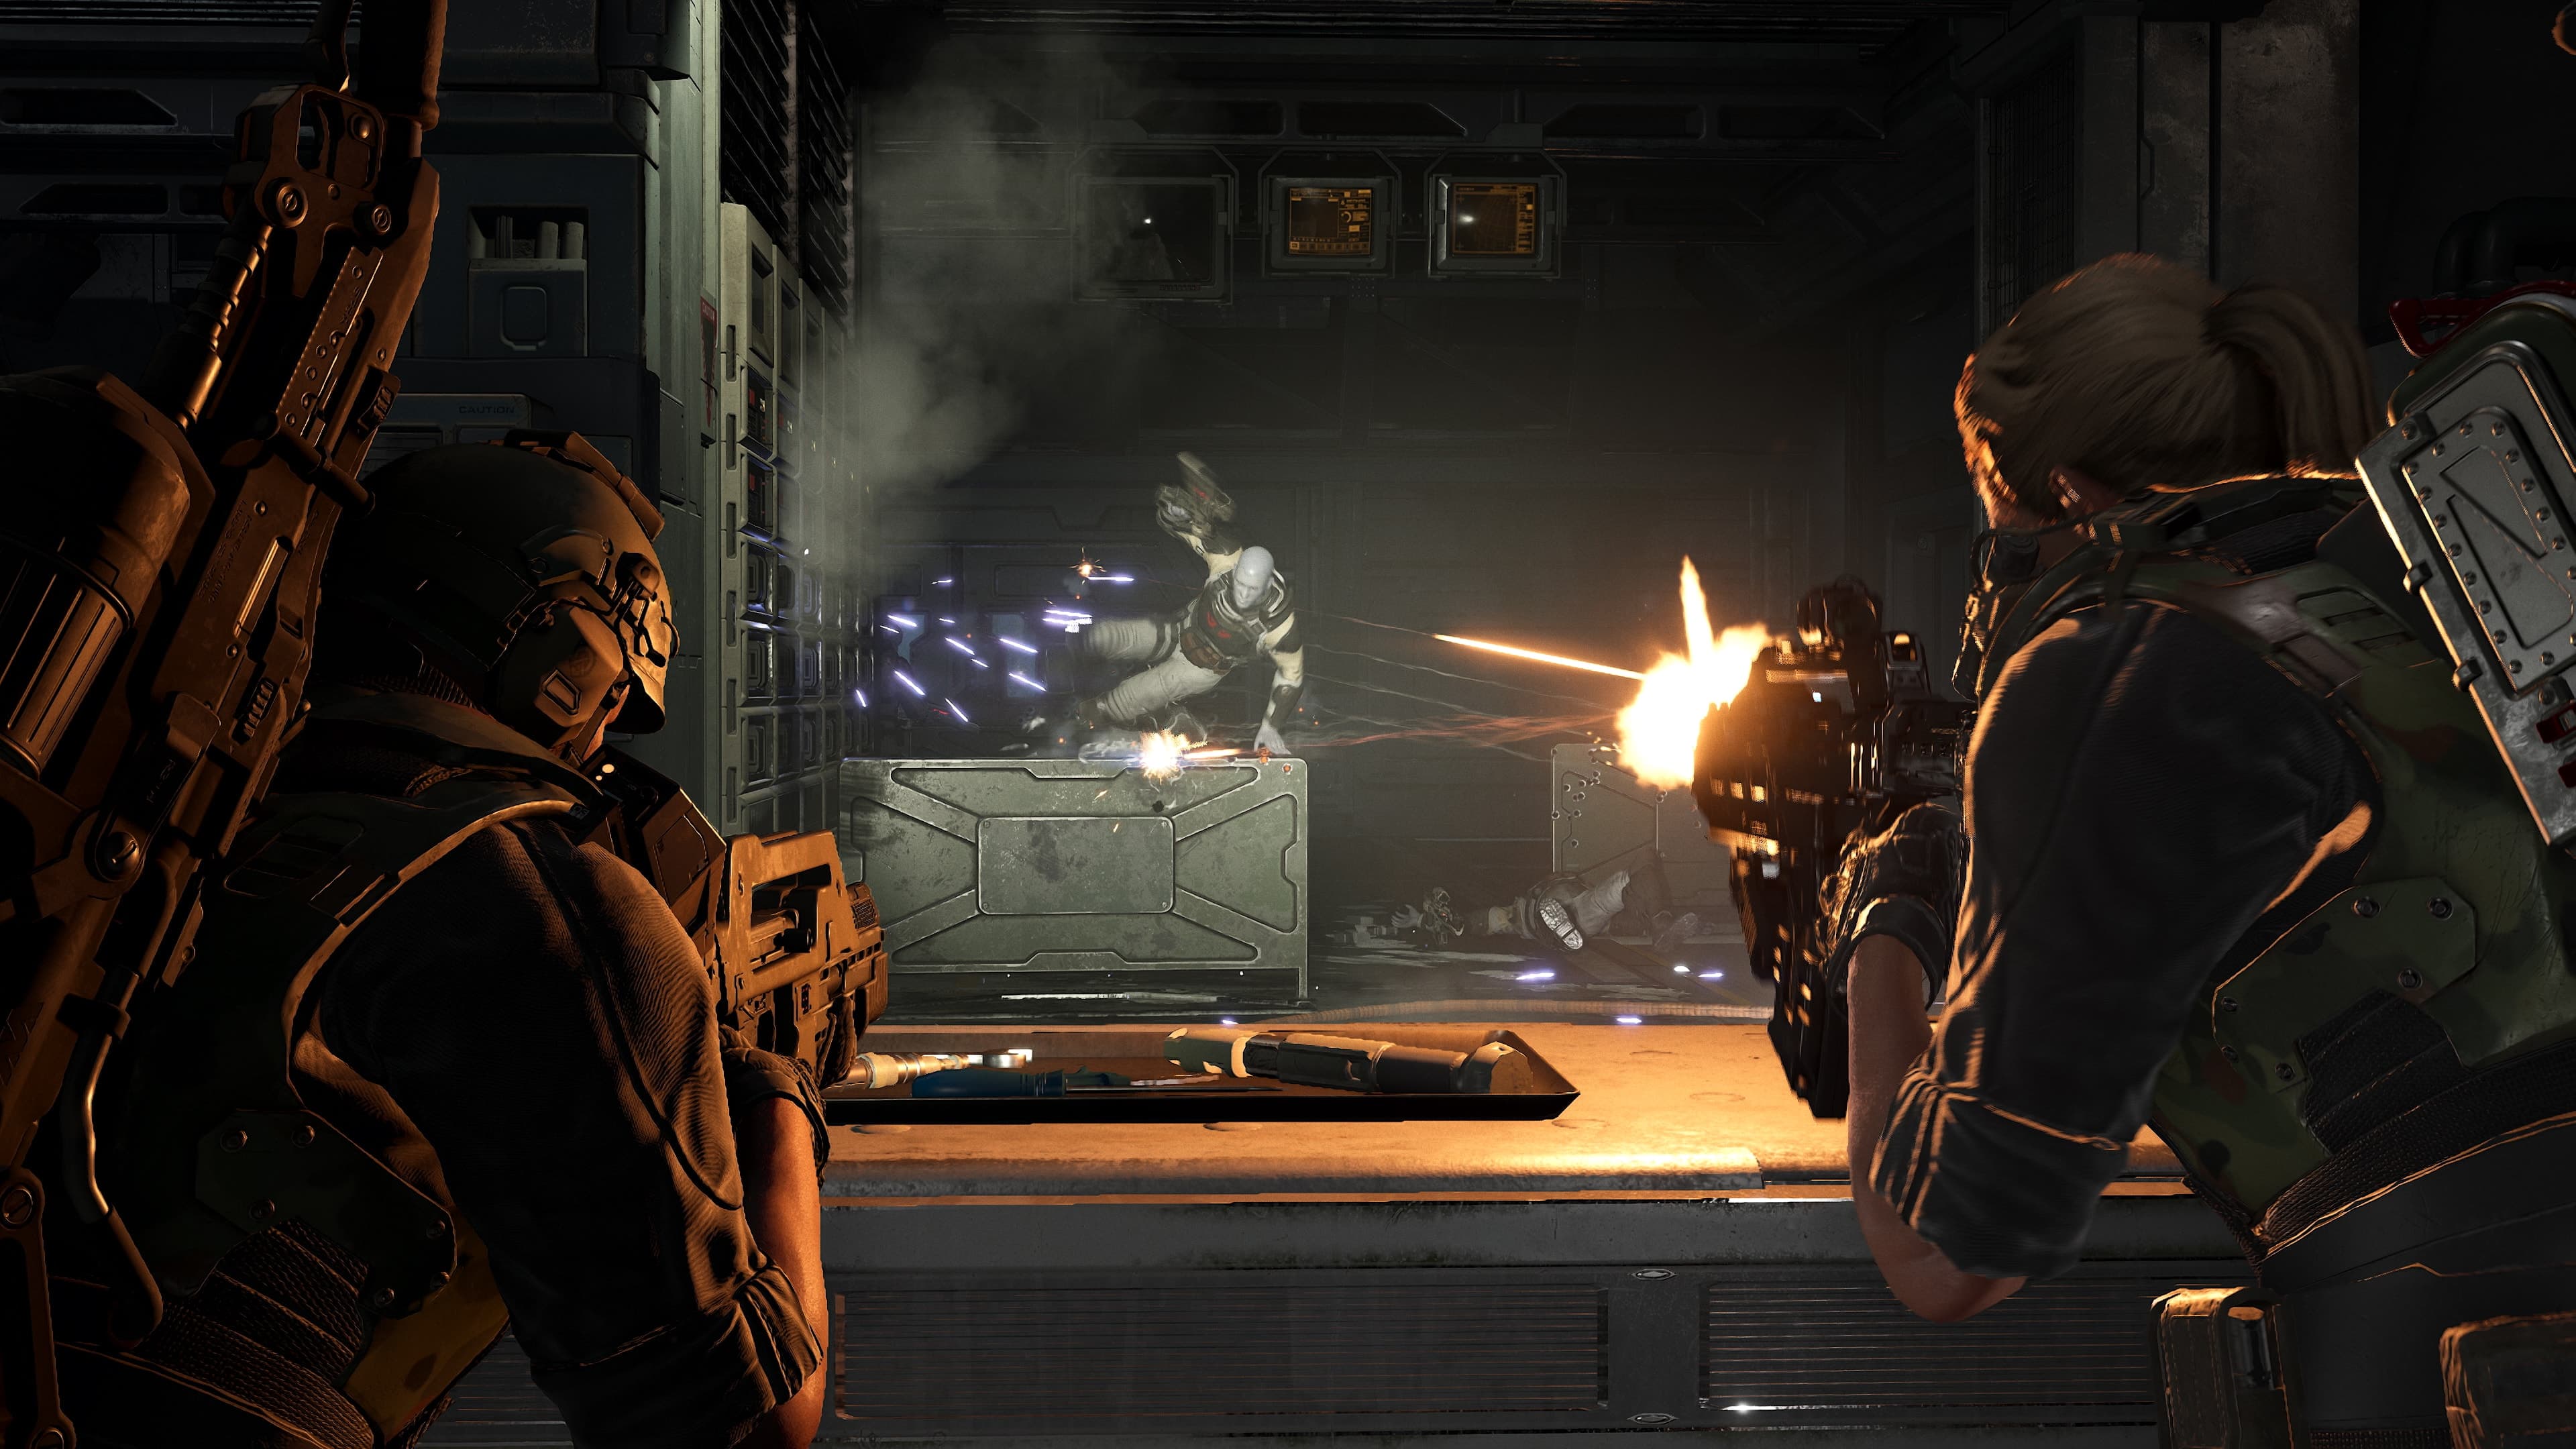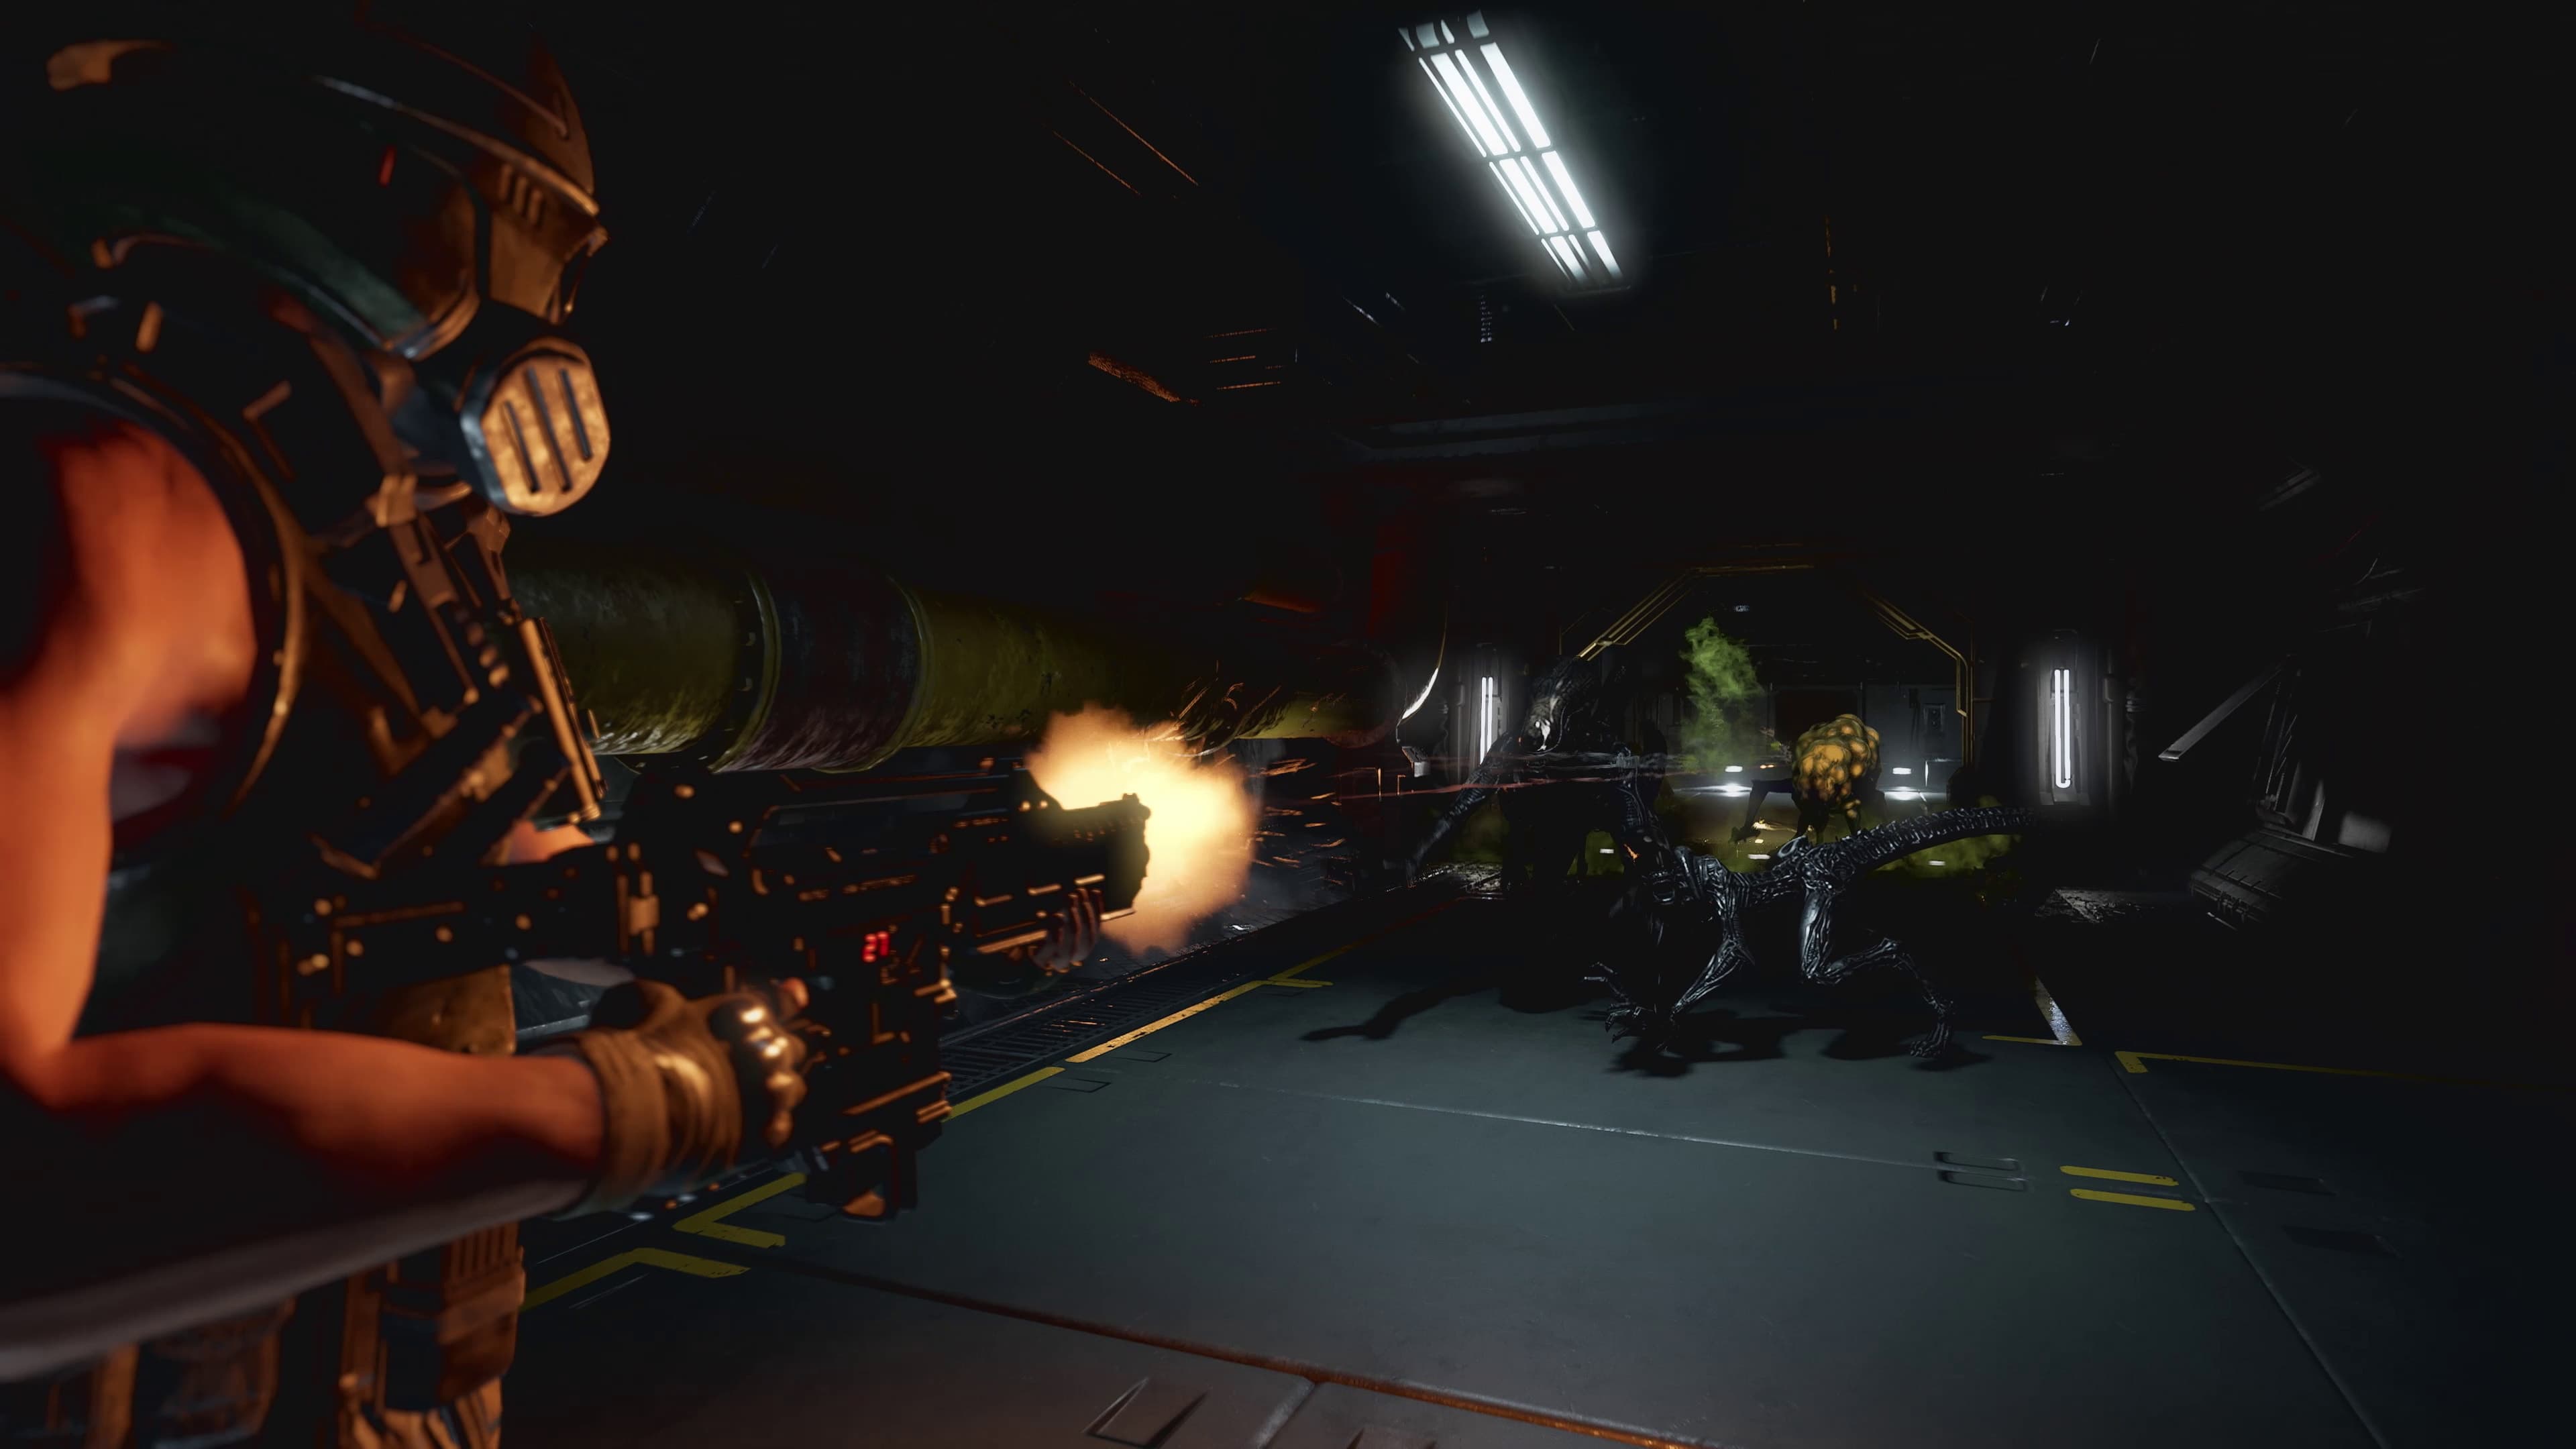
Loadout basics: start with the weapon-slot framework
T-Pose Games describes a loadout as primary, signature and sidearm weapon slots plus items. Duelist is the exception, carrying two primary weapons, so advice written for the standard three-slot pattern needs to be adapted for that class.
Assign each slot a job before chasing individual statistics: reliable general damage, a class-defining or situational answer, and a backup that covers downtime or ammunition pressure. The cited guide supports the slot structure, but it does not establish one universal best weapon.
Patch 1 changed real breakpoints: Bandolier I and II now grant 9% maximum ammo instead of 5%, Unyielding grants the described +50 health, and Forward Distribution Heatsink now supplies the intended 20% fire-rate increase below 50% heat.
Make the perk grid actually connect
A perk that modifies an ability must physically touch that ability on the perk grid. This makes layout part of the build: owning the perk is not enough if its tile is disconnected from the ability it is meant to change.
Build outward from the ability that defines your squad role, confirm each modifying tile is connected, and only then use remaining space for broader bonuses. This prevents a visually complete grid from silently failing to deliver its intended ability interaction.
Traits, Augments and attachments do different jobs
Weapon Traits and Augments unlock through weapon progression, while attachments alter weapon statistics. The official site also identifies Fire Modes, Augments and Weapon Traits as core parts of the sequel's weapon customization.
Treat progression unlocks and attachment statistics as separate tuning layers. Level the weapons relevant to your role to expand their Traits and Augments, then use attachments to support the handling or output the squad needs rather than assuming every system is another name for the same bonus.
Build for the squad, mission risk and difficulty
Class choice should fill a squad role rather than follow a universal tier list. Duelist covers flexible damage, Marauder heavy weapons, Machinist area control, Hunter weak-point pressure and Medic support; Specialist later combines unlocks from other classes.
Challenge Cards and consumables can change risk, rewards and tactics. Higher difficulties also make friendly fire a squad concern, especially with explosives and wide-area weapons, so a theoretically high-output loadout can be a poor team build if it removes safe firing lanes.
A repeatable build check
Before deployment, state the role, verify weapon-slot coverage, trace every ability-perk connection, review the active Traits and Augments, then confirm attachments support the same plan. Finally, compare area effects with teammate positioning and the chosen difficulty.
Change one layer at a time after a mission so the result is readable. Patch 1 changed several perk, ability and attachment values, so confirm exact damage and breakpoints against the current in-game values.
Build around the current patch, then test one layer
Start with one mission job, select the ability pair that solves it, connect modifiers legally, and choose weapons whose range and damage type support that job. Only then spend remaining grid space on general health, ammo, reload or handling.
After extraction, change one branch at a time. Patch 1 altered explosive direct/AOE splits, Cryo Blast DPS, ammo perks and several displayed attachment values, so a pre-patch screenshot can produce the wrong comparison even when its layout still looks valid.
- Role first
- Legal perk adjacency
- Weapon range and damage type
- One controlled change per test mission